
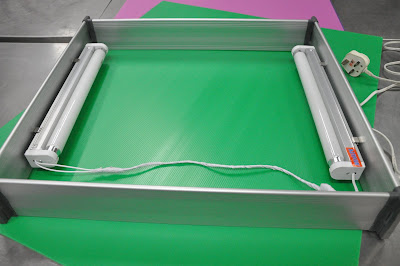
The frame for the light box are made of aluminum, choose this because it is a durable material, in fact they does not look cheap. Where I get it? You need to shop around to find it or specifically go to IKEA look for the kitchen's cabinet drawer organizer that made of aluminum. You need two sets of them. Dimension? not very sure the accurate measurement, I guess it is around 16'' each, so you will get a light box of 16'' X 16'' dimension. You need to do some modification at the end of the aluminum plate so it can be assemble interlocked to resemble a square box. Please look at the end of the aluminum plate (picture above). it come together with the drawer organizer.

For the fluorescent bulb set get it from ACE Hardware at IKANO. It came complete with the bracket. Here is where your knowledge on electrical is needed. A simple one..............do a parallel connection. Before that, screw the bracket onto the aluminum frame to secure the bulb (refer to picture above).
For the cover 'fersfex' (picture below) get it from the hardware store or from any posters and signage company. If you are lucky you may get it for free..............
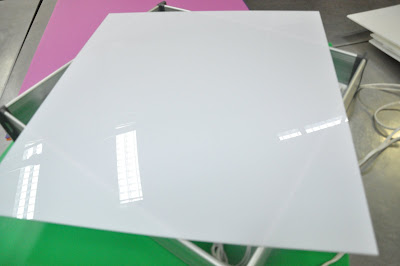
Here you are the DIY light box.....................it cost under RM180.00. Cheap, simple and practical.

*****AFTER TRYING A FEW TIMEs WITH THE LIGHT BOX, I FOUND OUT THAT THERE IS A WEAKNESS. THE LIGHT FROM TUBE TYPE FLOURESCENT BULD THAT I USED WAS NOT EVENLY DISTRIBUTED. TO RECTIFY THE PROBLEM I CHANGED TO THE 'RING' TYPE FLOURESCENT BULB, IT WORKS BETTER.
No comments:
Post a Comment